
The knitting circle ladies and I have resolved to make socks this year, 10 pairs to be exact. Joining us is Tracey M. who lives far away from the knitting ladies, but we work together so she'll get all the assistance she needs. Unlike some of us, this is Tracey's first pair of socks.
The first sock pattern is Nutkin which can be found here. I used big yarn and needles to make the socks for the purpose of demonstrating the techniques used. For my real socks, I used Madelinetosh sock in 'ink' which was generousely donated by Sojourn Knitter. Thank you!
Before we get started you should check your gauge. If you get 8.5 stitches to the inch (or 17 stitches for 2 inches), then you're good. Of course, gauge isn't a guarantee, but if you get less stitches per inch, your sock will feel like a girdle on your feet, more and you'll be able to wear them over your shoes. You decide.
I cast on the required number of stitches and joined them in the round. The pattern asks that you use 4 needles, but I prefer 3 so I placed a stitch marker after the first stitch as you should always do so you'll know where the beginning of your sock is:

If you are using 4 needles each needle will have the same amount of stitches on it, but because I'm using 3 needles, I used another stitch marker in a different color so the stitches on needle #2 is divided in half which will represent needle #2 & #3.

I knit 5 rows with white, purled one row with pink, and 6 rows with white:
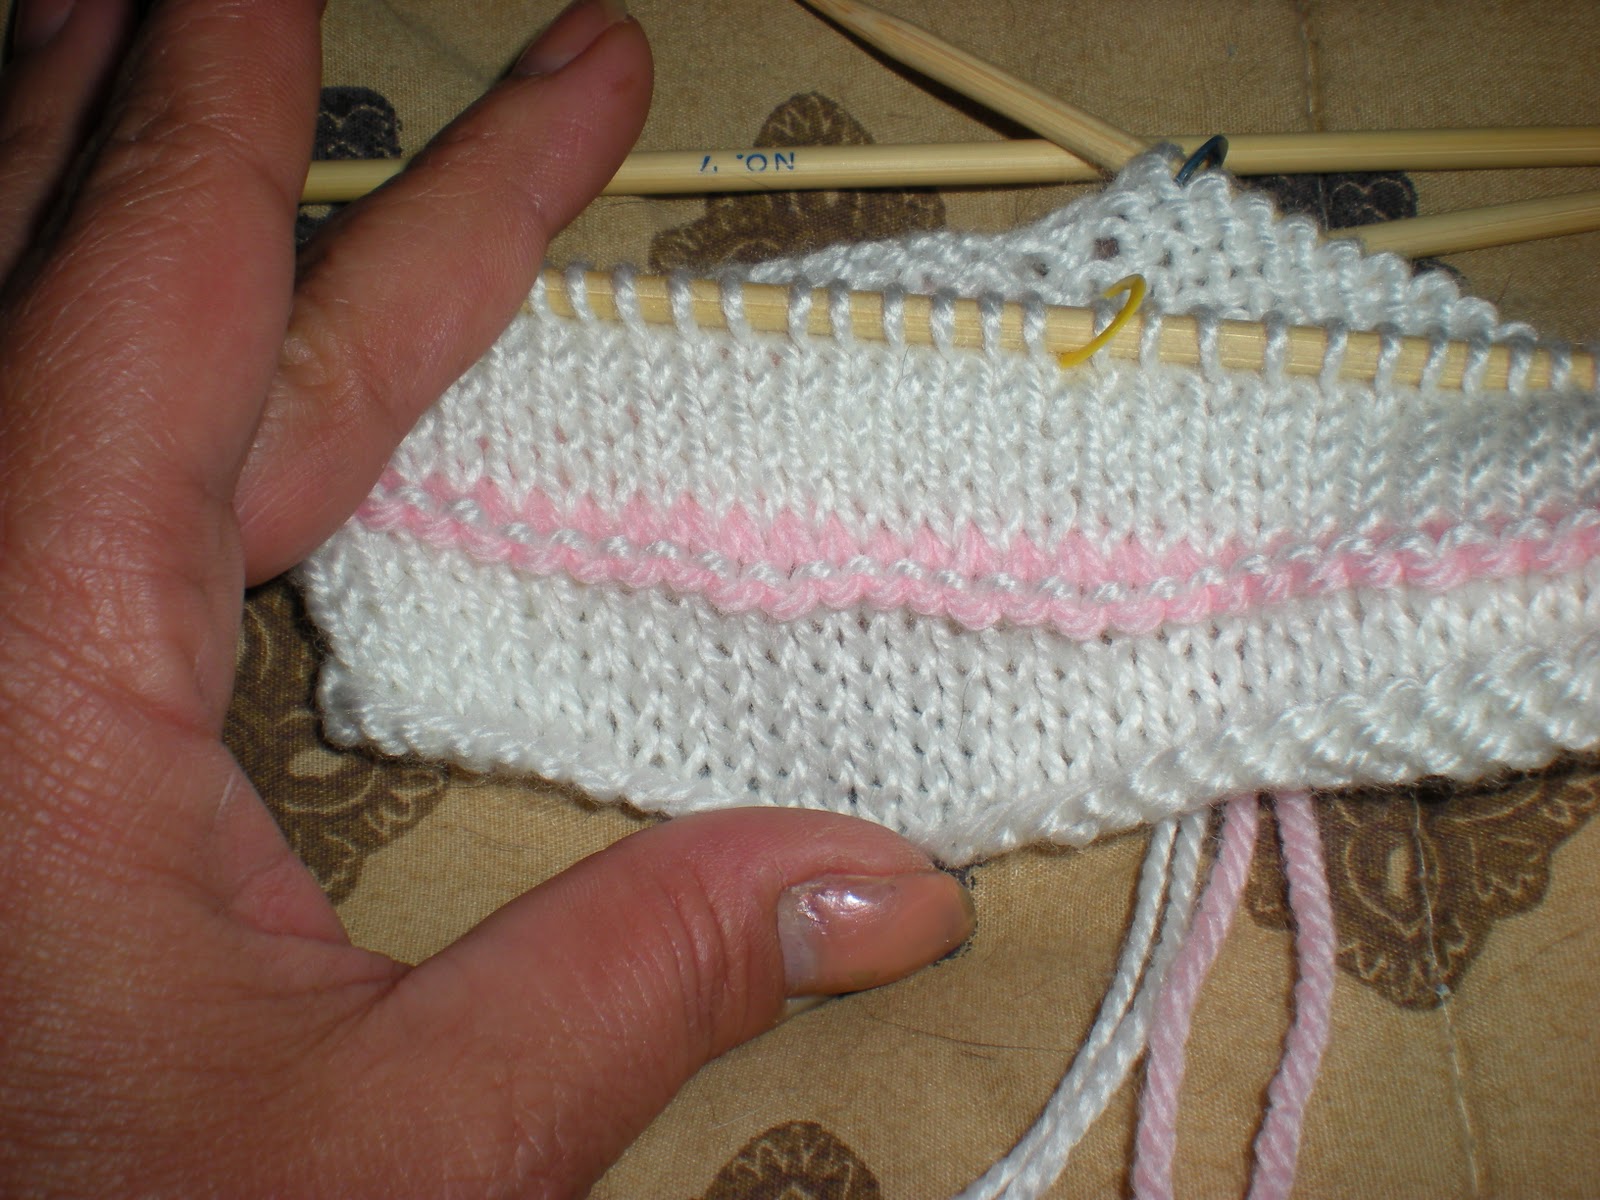
With the right side facing me, I folded the material at the the purl row:

Now when you look at the cast on edge, you will see the familiar "V" of your stitches which are commonly referred to as legs. Insert your right needle into the first stitch on the left needle and then pick up the outer or upper most leg of the corresponding stitch from the cast on row and knit them together:

When you are done, the front of your work will look like this:

And the back of your work will look like this:

Then knit one row.
Now you can follow the very easy to remember pattern as directed.
Any questions?
None from me yet! I wound my yarn (a disaster...I still have no idea how to wind a good ball of yarn with my swift and winder...practice hopefully will make perfect) and have cast on. I've completed one round of the repeat pattern. Can't wait to continue on tomorrow on the train!!!
ReplyDeleteAnd once again a big THANK YOU to you and your knitting circle for letting me join in on the fun.
ReplyDelete