January 06, 2011

Three Socks?

OK, so I made one Nutkin with US #1 needles and Madelinetosh Sock in the ink colorway.  The sock is lovely and the yarn is dreamy.  I love the color and the feel and now I want ALL of my socks made with it.  I got a gift certificate for WEBS and I'm thinking I could buy lots of skeins of the stuff, I won't, but I could.  But I digress.

As I was saying, I made sock #1 and when it was finished I found out that I was one of the stepsisters in the Cinderella story.  The sock was tight, way too tight.  So tight, in fact that I couldn't even get it past my heel ... so I went straight to denial.  I pulled and tugged knowing full well that if something didn't break, then the circulation in my foot was going to be cut off.  Still, I pulled and tugged that sock over my heel and up my cankle.  Ah, success ... and then I noticed that the pattern was stretched so far that surely something would tear.

It took 10 minutes to get the sock off.  Meanwhile, while I struggled to pull from the toe and the cuff and the toe and the cuff and the toe and the cuff, etc. I thought the sock wasn't going to come off and I went into panic mode.  Do I wake my son up to help me, do I search for some vaseline or cooking oil to grease the foot?  One hot flash and an anxiety attack later, the sock was free and blood started to flow to my leg again.  Whew!

OK, I had two choices.  Either I give the socks away to someone who could wear them comfortably (unlikely) or I can use a bigger needle to make the second sock and rip back the first sock (most likely).  I had to mull it over - for about 5 seconds.

Option #2 won.

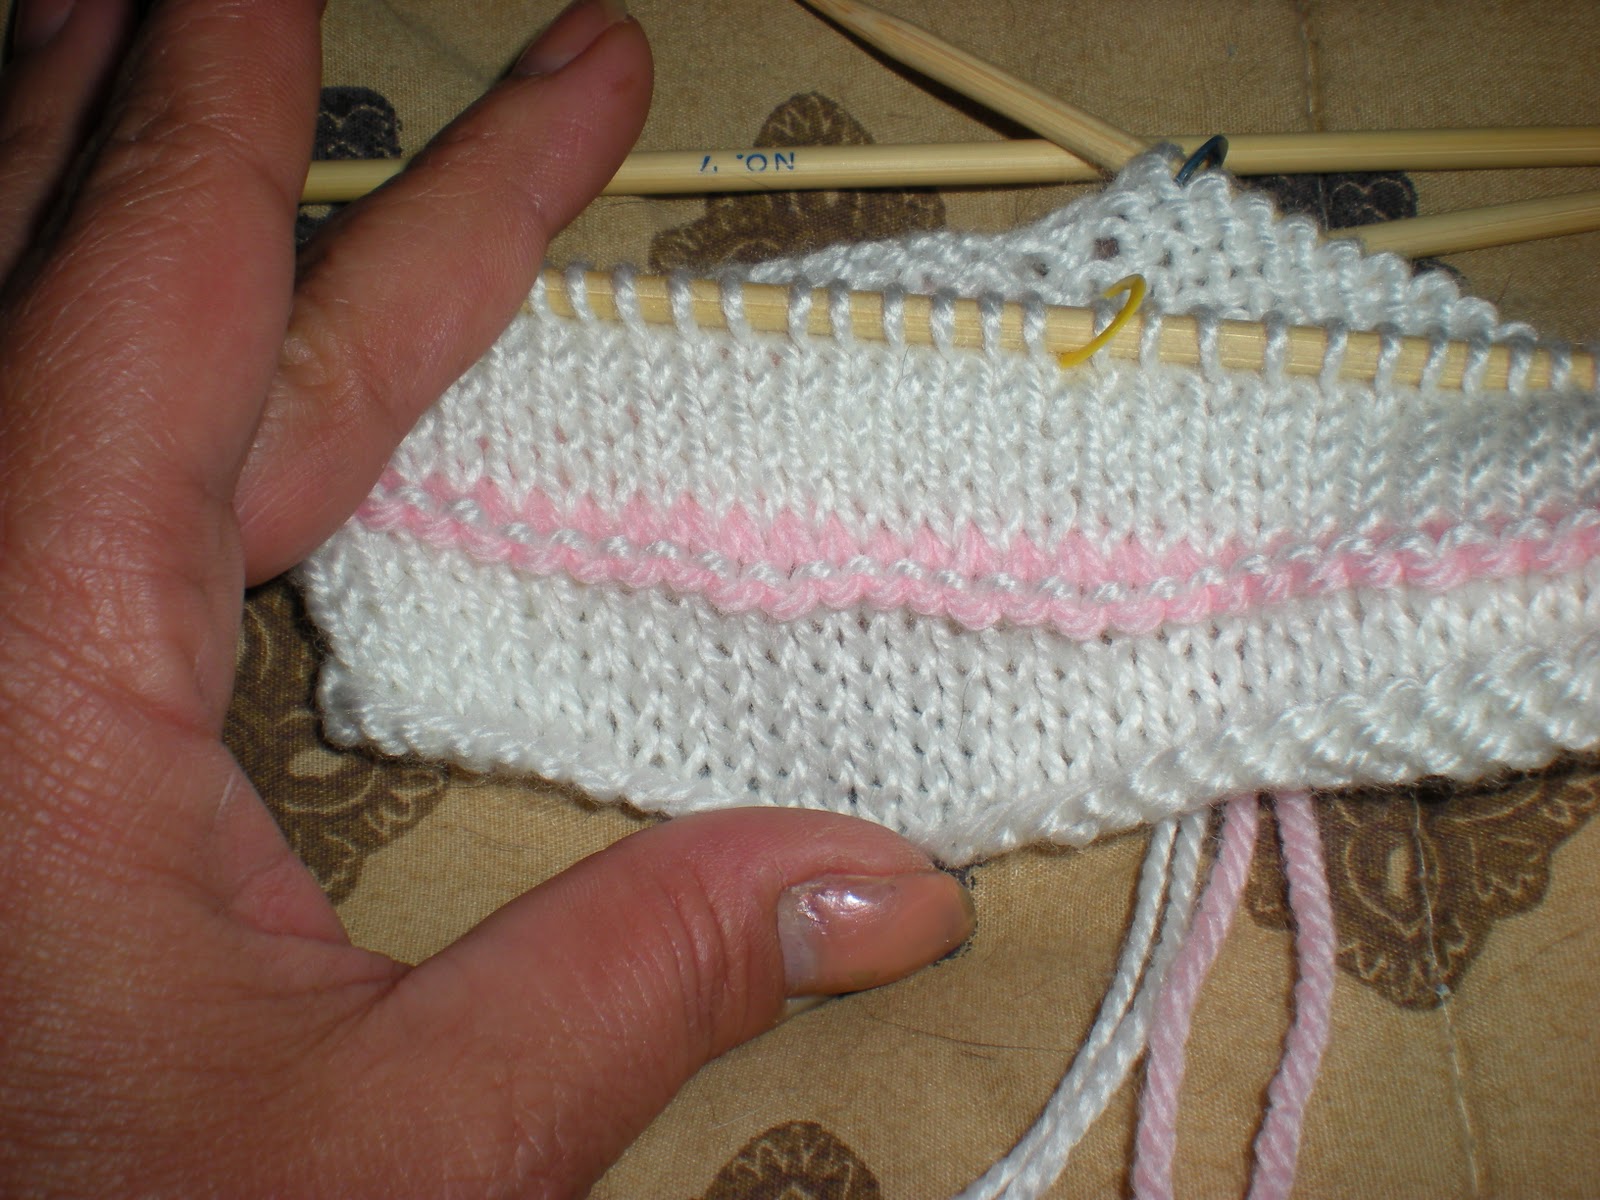
Here's where I am so far:


Sock #1 is on the blocker (obviously).  Sock #2 is loose but it fits, and the difference in needle sizes is huge!  And yes, that blue piece of plastic is a bread tie from the last loaf of bread.  It's the best bobbin ever.

Tracy M said she had no problem with the folded cuff and she was most of the way down the leg when she showed me the picture.  Congrats T!  (I hijacked her pic from flickr):


So, how's your sock coming?

Oh, and Maria from knitting class gave birth to the newest knitting circle member: Adrian Nicholas.  He was 8lbs 2ozs of healthy baby boy born on December 11.  Congratulations to Maria and Junior!

January 02, 2011

Happy New Year!

This year I welcomed the new year without resolutions.  Why?  Because there are very few things I can commit to for 365 days other than showering and brushing my teeth.

The knitting circle ladies and I have resolved to make socks this year, 10 pairs to be exact.  Joining us is Tracey M. who lives far away from the knitting ladies, but we work together so she'll get all the assistance she needs.  Unlike some of us, this is Tracey's first pair of socks.

The first sock pattern is Nutkin which can be found here.  I used big yarn and needles to make the socks for the purpose of demonstrating the techniques used.  For my real socks, I used Madelinetosh sock in 'ink' which was generousely donated by Sojourn Knitter.  Thank you!

Before we get started you should check your gauge.  If you get 8.5 stitches to the inch (or 17 stitches for 2 inches), then you're good.   Of course, gauge isn't a guarantee, but if you get less stitches per inch, your sock will feel like a girdle on your feet, more and you'll be able to wear them over your shoes.  You decide.

I cast on the required number of stitches and joined them in the round.  The pattern asks that you use 4 needles, but I prefer 3 so I placed a stitch marker after the first stitch as you should always do so you'll know where the beginning of your sock is:


If you are using 4 needles each needle will have the same amount of stitches on it, but because I'm using 3 needles, I used another stitch marker in a different color so the stitches on needle #2 is divided in half which will represent needle #2 & #3.


I knit 5 rows with white, purled one row with pink, and 6 rows with white:


With the right side facing me, I folded the material at the the purl row:


Now when you look at the cast on edge, you will see the familiar "V" of your stitches which are commonly referred to as legs. Insert your right needle into the first stitch on the left needle and then pick up the outer or upper most leg of the corresponding stitch from the cast on row and knit them together:


When you are done, the front of your work will look like this:


And the back of your work will look like this:


Then knit one row.

Now you can follow the very easy to remember pattern as directed.

Any questions?